Showing posts with label grandmother's garden patchwork. Show all posts

Sunday, January 31, 2016

Scrappy fabric project ideas, handmade flower coasters


If you have a lot of beautiful and colorful scrap fabrics, even some scrap batting that is big enough to make small projects, don’t ever throw it.  You never know how these wonderful materials can be used to make wonderful things.  Here is what I made from scrappy fabrics a set of flower coasters that is so unique and special.


Beside that this coaster can also be hung on your wall (like party banner) to add more colors your kitchen or tea room . All you need is just play with the colorful fabrics and stitch !  There more flower coasters you stitched, the merrier (^v^) 


Just take it down from the wall and there you serve your coffee or tea with this beautiful handmade flower coasters.    


This also makes very special gift for your love one or friends, and also great teacher's gift,  just make it with your heart and send out to surprise them. 


This set of 5 flower coasters are available for sell at my Etsy shop.  If you are interested to make your own coasters, please feel free to visit my Etsy shop for the patterns or simply click on the photo below to link you to my Etsy.  (Remember to click the FOLLOW to check on more beautiful projects in the future).  ^v^


Sunday, December 13, 2015

A winter story, Merry Christmas. A unique collectible handmade boston / shoulder bag

The bag has a little story to tell you. It's about winter, it is starting to snow. The surrounding is suddenly filled with wonderful and peaceful atmosphere. Yes, Christmas is around the corner. Merry Christmas to you, let's celebrate this wonderful season with joy !

I am using Japanese taupe / yawn dyed fabrics (shortly be available in my Etsy shop) to make this bag to create very natural look of houses and background for this project.  Japanese taupe are widely used in Japan by most patchwork guru like Yoko Saito, Minami Kumiko for their works.   Here is some examples of art works using taupe fabrics.


The front side of the bag is partial hand and machine stitched little houses appliqué.  The snowy sparkling beads are carefully sew onto the bag, creating a sparkling effect for this bag.


The bag has 2 pockets, the one as the window at the back of this bag and an inner pocket to further help you organize your personal items.


At the back side of the bag is snowing view from my window.  Well, is it really a window at all ?  No, it is also a pocket for you to put your handy item such us travelling ticket or cards, maybe your phone too.  A "Let it snow" is embroidered near the little window, I think it add more meaning to this side.


While designing this bag, I decided to make this shape of this bag into something unique.  It is pretty wide to accommodate all the little applique houses. Also, its height is just ideal to put in quite a long of your daily goodies.  As this bag is padded with polyester batting and quilted, it is just so easy and light to carry around.  Besides that, if not in use, it can also be decorative art work on the wall or display closet.


I usually collected lots of decorative accessories and zipper pullers handy.  This tower clock zipper puller is also my collection.  It just add more character to this bag.  I love this idea ^v^


An over view of this beautiful bag.  


If you are interested to get this bag, you can visit my Etsy shop at the link below

OR, if you don't have an Etsy account but you do have Paypal account, please feel free to email me at

contact me : Storyquilter@gmail.com


Grab this one of a kind handmade bag before it is gone. ^v^


p/s:  Pattern for this bag will surely be available in my shop too, if you are interested to get the update of this bag pattern, please feel free to drop me an email.


Remember to join me of more update of my future works. You will surely don't want to miss it.

Merry Christmas ^v^


Wednesday, June 3, 2015

All stitched up !

Finally I have finished with sewing the 110 pieces of hexagon together.  A little hiccup occurred when I found that I need to add extra line to the entire work, just to reach the height I want for my project. 


Taking a closer look, all the hexagons are intact and in good shape !


I am following Japanese way to sew up the hexagon pieces.  Here is how it looks at the back after ironing.


Hmmm … patchwork projects actually required some calculations some times, also some drawing tools that I used during my school time.   What a nostalgic feeling to see the old mathematical instruments again.   

Alright, I know the size of the bag and also made my template for the base.  Tomorrow is going to be quilting work.  Pray that everything will go smooth like royal icing !  ^v^ 


Saturday, May 30, 2015

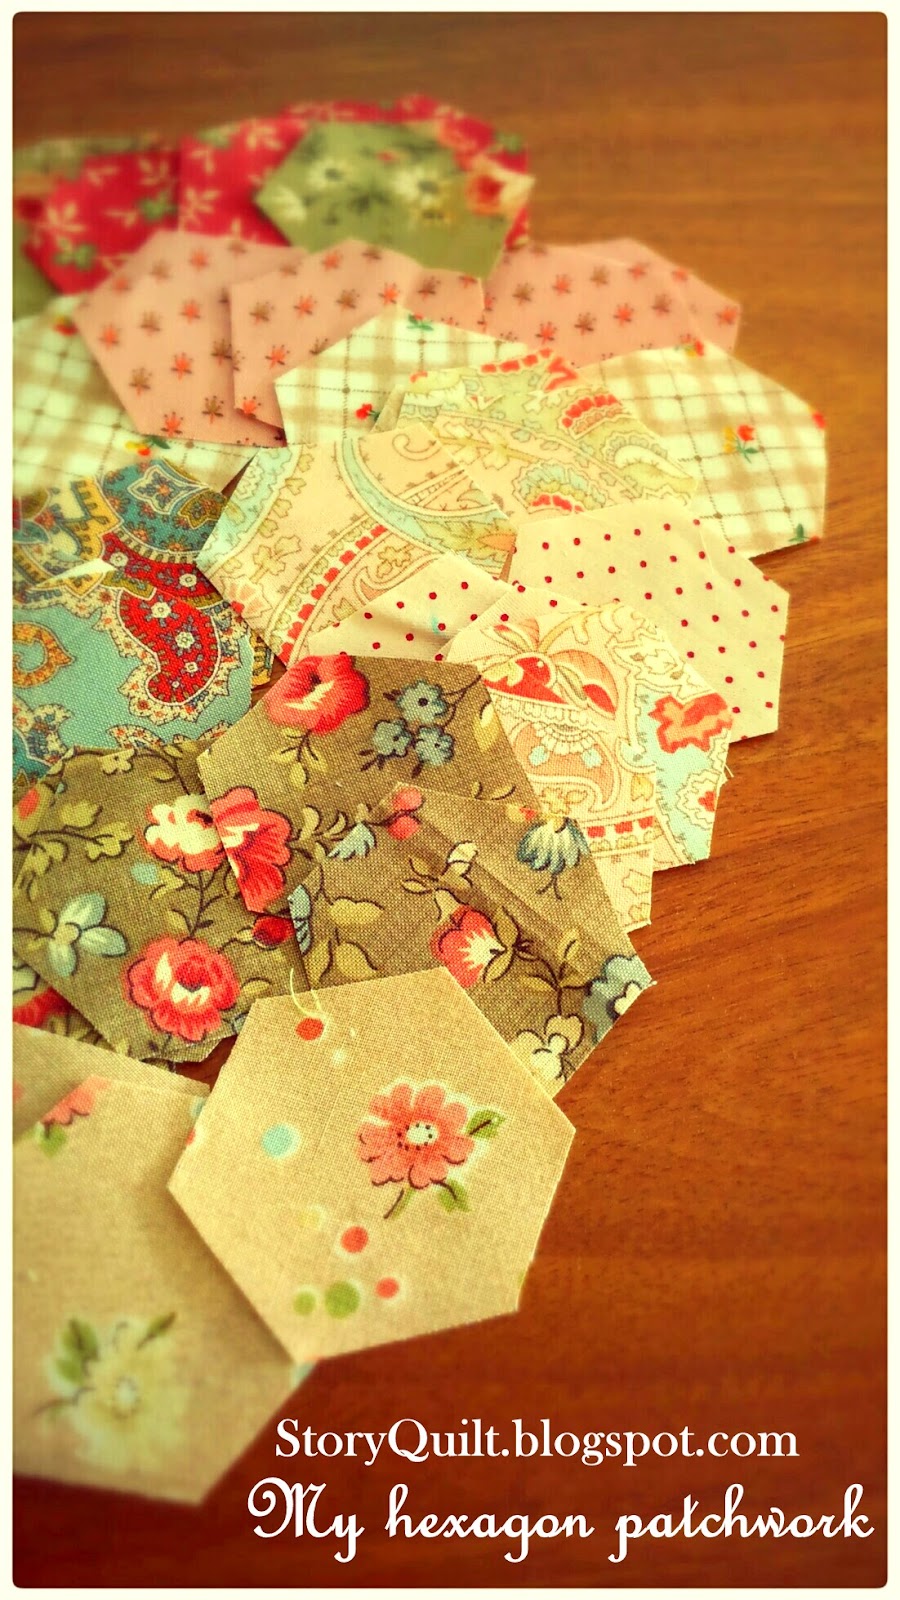
Playing with the hexagons!

These are my harvest from yesterday.  I just love the colors so much.


It has been so fun to work on my hexagon pieces.  I just love and feel amazed to see the effect from combining different pieces to see how the results will be.  With simple swapping of those pieces, the effect will turn out brighter or “warmify”.  Hmmm… I think I will go for “warmifying” effect.  


Since this is going to be small project, I am not going to use hexagon templates to sew all the hexagon fabrics together.  I am using this very straight forward method which saves me a lot of time from preparing so many hexagon paper templates (time saving 1).  I don't have to pre-sew all the fabrics into hexagon (time saving 2) before I actually can sew all the hexagon pieces together (time saving 3).   If you are not familiar with this method, there are always many ways to make hexagon patchwork.  I found that this site from Pretty by hand gives you very good tuition to sew the hexagon patchwork.

After collecting fabrics from every row (photo above). I would label them based on the rows and also I will take not which fabric is the starting point and ending point and clip them properly.  The best way to remember is also to take photos of the arrangement.     


Slowly I am stitching up the pieces, as fabrics pieces are arranged earlier,  sewing them become far easier than ever. 


Within hours,  I am done with sewing up the fabrics pieces.  Not quite finished yet, remember to label each row so that I won't get mixed up here.  


I just fall for the colors ......  


Am attaching the row number at the starting fabric of each row.  Also, I took photos before that to remind me of the arrangement of each rows (whether it's inverted inward or outward) .

Tomorrow I am going to sewing the rows together. 


Tuesday, May 26, 2015

Grandmother's garden patchwork project

I am eager to try Grandmother’s garden patchwork project for so long.  So far I have been looking for shape of bags that is suitable for my new patchwork project.  Finally I decided to make bucket bag for this type of patchwork.  I have been choosing my fabrics these few days.  I think vintage floral fabrics will be very suitable for my new project. Here are my selections of fabrics.  What do you think ?